DIY Concrete Planters: Easy Steps to Make Your Own
Creative Ideas for DIY Concrete Planters
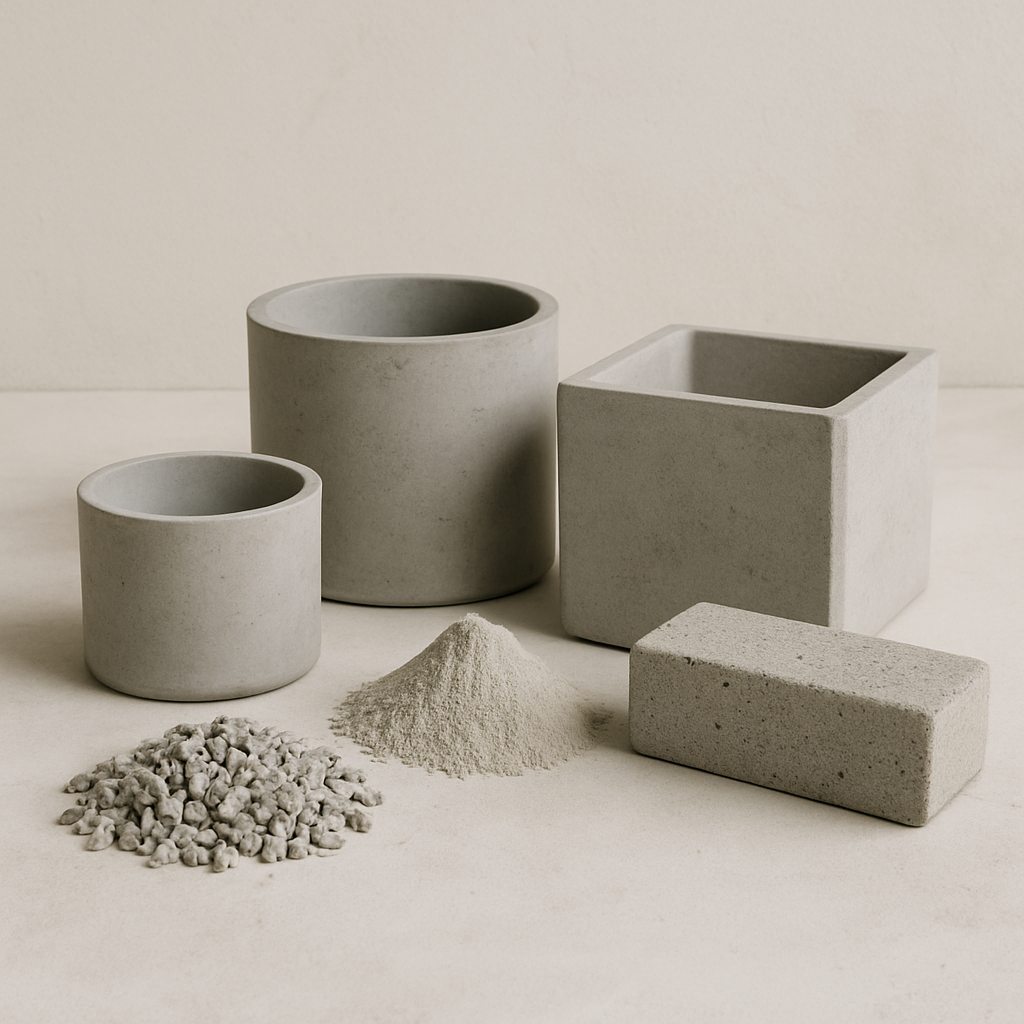
Creating your own concrete planters can be a fulfilling project that adds a personal touch to your garden or home. Whether you're looking to enhance your patio with large flower pots or spruce up your living space with smaller cement pots, the possibilities are endless. Here's a guide to crafting DIY concrete planters that are both durable and stylish.
Before diving into the creative process, gather the necessary materials. You'll need cement, water, a mixing container, and molds. Molds can range from plastic containers to cardboard boxes, depending on the size and shape you desire. Additionally, have a mixing tool, sandpaper, and a release agent like cooking spray at hand.

Step-by-Step Guide to Making Concrete Planters
1. Prepare Your Mold
Begin by selecting a mold that suits your desired planter size. Ensure it's clean and dry, then apply a release agent to the interior. This will help you remove the concrete easily once it has set.
2. Mix the Concrete
In a mixing container, combine cement with water according to the package instructions. Stir until the mixture is smooth and free of lumps. The consistency should be similar to thick oatmeal. For added strength, consider mixing in sand or gravel.
3. Pour and Set
Carefully pour the concrete mixture into your prepared mold. Gently tap the sides to release air bubbles, ensuring a smooth finish. Insert a smaller mold inside the larger one to create the cavity for the plant. Weigh down the smaller mold to prevent it from rising.
4. Curing Process
Allow the concrete to cure for at least 24-48 hours. The curing time may vary based on the size and thickness of your planter. Keep the mold in a cool, shaded area to prevent cracks.
5. Demolding and Finishing Touches
Once cured, gently remove the mold. Use sandpaper to smooth any rough edges. If desired, seal the concrete to protect it from moisture and stains.

Creative Designs and Customizations
Concrete planters offer a blank canvas for creativity. Consider adding color by mixing in concrete pigments or painting the exterior once cured. Textured finishes can be achieved by lining molds with fabric or using decorative objects like leaves or shells.
Tips for Success
- Experiment with Sizes: Try making a variety of sizes, from small pots for succulents to large planters for outdoor use.
- Reuse Materials: Household items like buckets or old containers make excellent molds.
- Be Patient: Allow ample time for curing to ensure durable and long-lasting planters.
By following these steps, you can create beautiful, custom DIY concrete planters that reflect your personal style. Whether you're a seasoned DIY enthusiast or a beginner, making concrete planters is a rewarding project that enhances any space.
Feel free to share your own creative ideas or ask questions in the comments below!
Leave a comment
This site is protected by hCaptcha and the hCaptcha Privacy Policy and Terms of Service apply.