How to construct a fence gate
Building a fence gate can be an exciting and rewarding project. Not only does it enhance the appearance of your fence, but it also provides a functional entry point to your yard. In this guide, we will walk you through the steps of constructing a sturdy and attractive fence gate. Whether you are a DIY enthusiast or tackling this for the first time, you'll find this guide straightforward and informative.
Summary
This guide covers planning and building a sturdy wooden fence gate: measure your opening and choose a style, construct a braced 2x4 frame, attach vertical boards with small gaps, and install the gate between properly set posts. It explains how to hang the gate with hinges, add a latch, and finish with sanding and weather-resistant paint or stain. A complete materials/tools list, alignment checks, and maintenance tips help ensure long-term performance and smooth operation.
Before you begin, gather all the necessary materials and tools. Having everything on hand will make the process smoother and more efficient.
- Wooden fence boards
- Pressure-treated 2x4s
- Galvanized screws or nails
- Hinges
- Gate latch
- Gravel or concrete mix (for setting posts)
- Tape measure
- Circular saw or hand saw
- Drill with bits
- Screwdriver
- Hammer
- Level
- Post hole digger
- Carpenter's square

Planning Your Fence Gate
Before diving into construction, take some time to plan your project. Measure the opening where the gate will be installed. Standard fence gates are usually between 3 to 4 feet wide. However, you can adjust the size based on your specific needs.
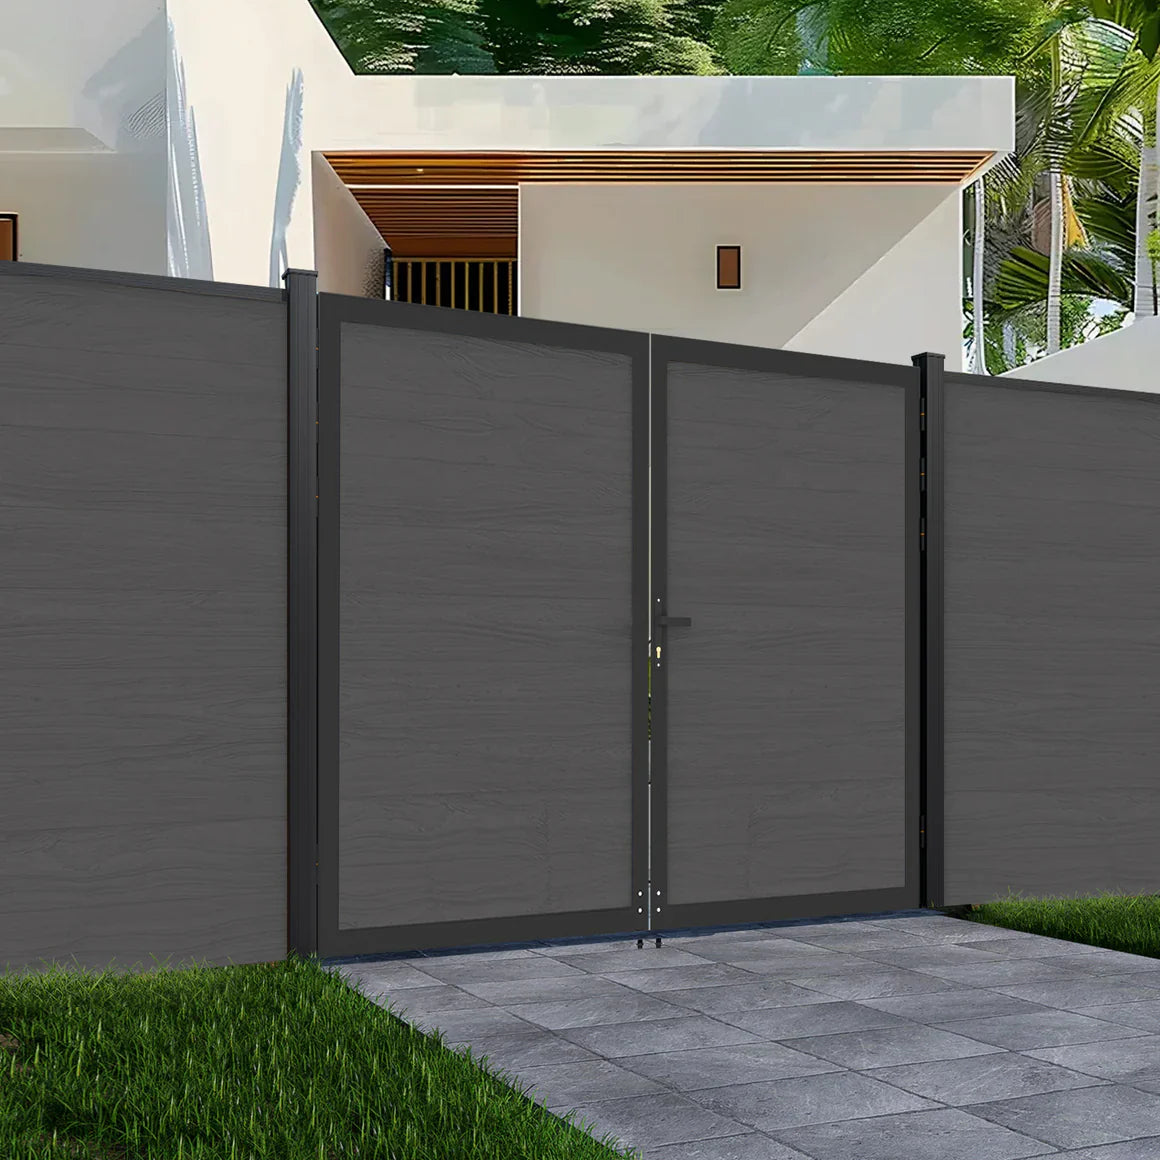
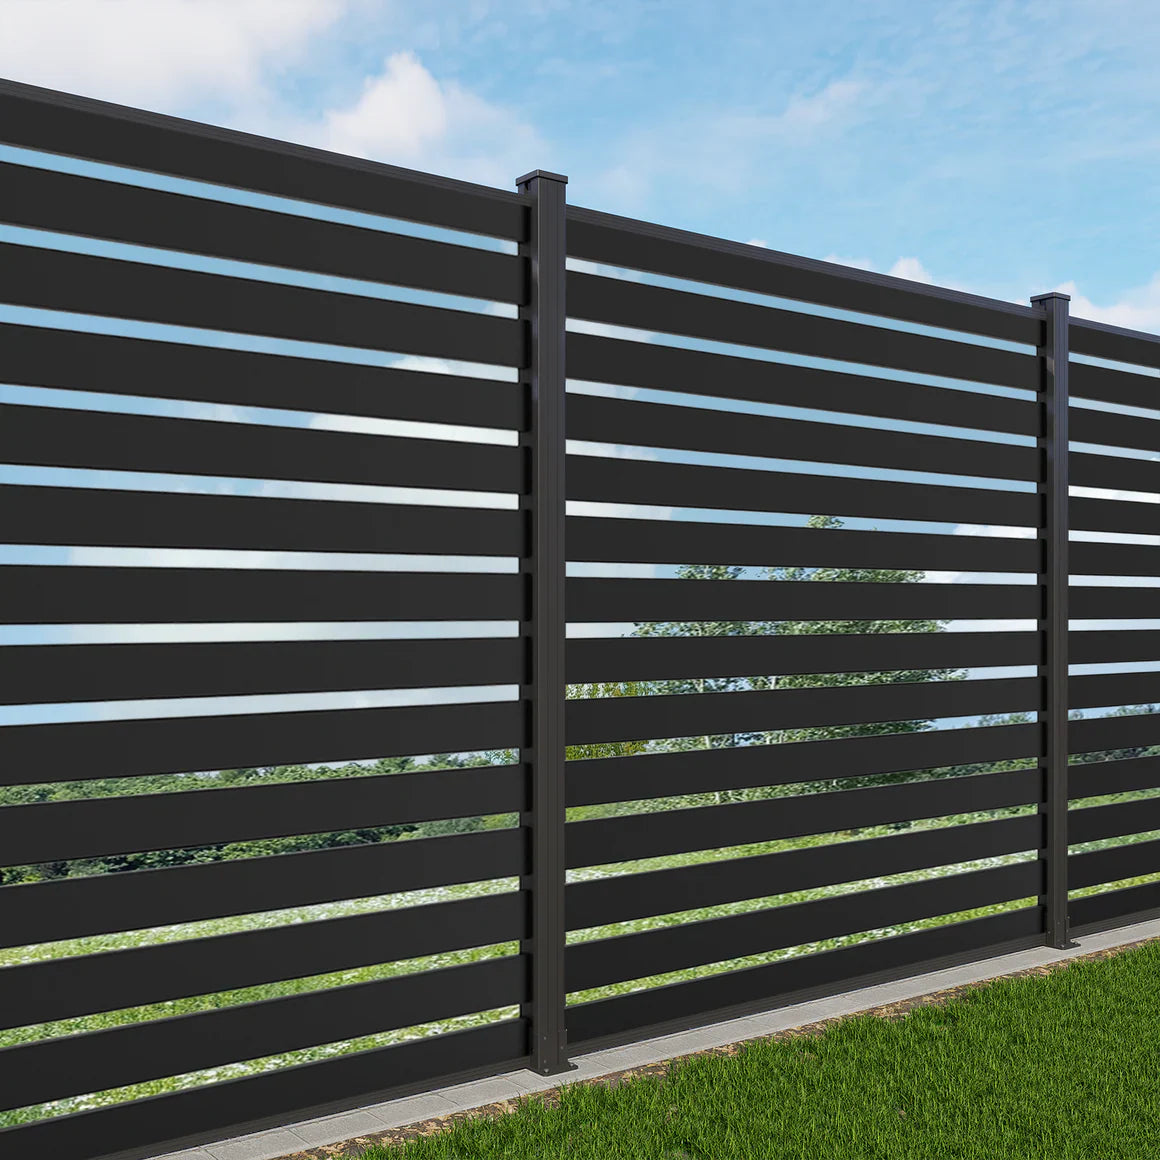
Consider the style of your fence and choose materials that complement it. Also, decide whether you want a single or double gate. A double gate is ideal for wider openings or if you need to allow vehicle access.
Constructing the Gate Frame
The frame is the backbone of your gate, providing structure and support. Follow these steps to build a solid frame.
Step 1: Cut the Frame Pieces
Using your measurements, cut the pressure-treated 2x4s to size. You will need two vertical pieces (stiles) and two horizontal pieces (rails) for the top and bottom of the frame.
Step 2: Assemble the Frame
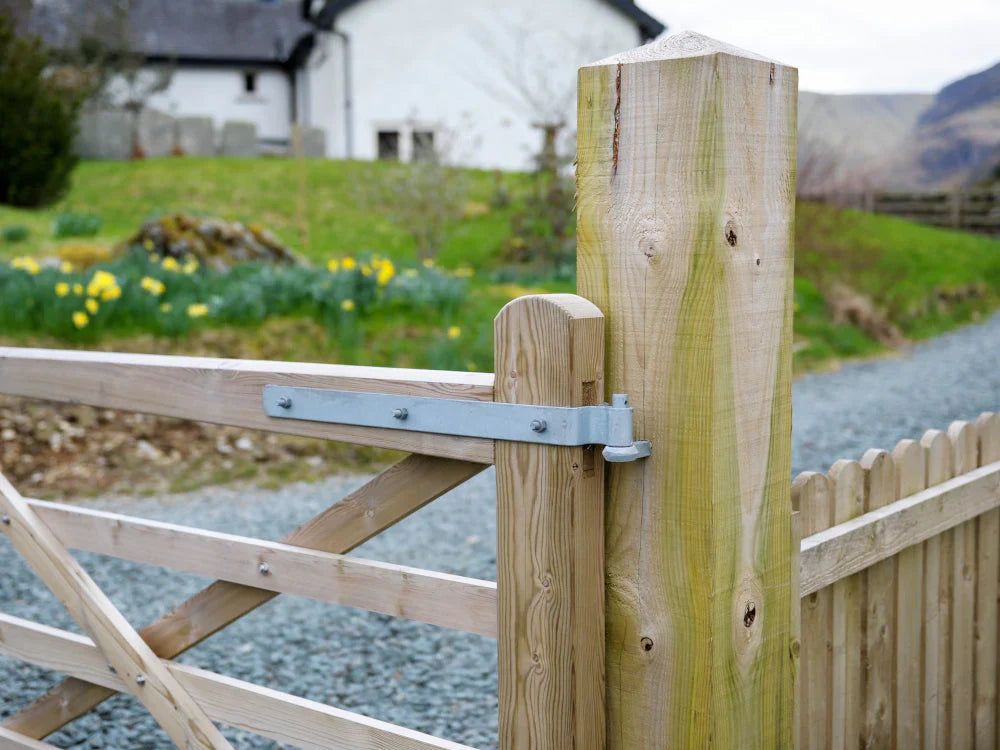
Lay out the cut pieces on a flat surface. Use the carpenter's square to ensure all corners are at right angles. Drill pilot holes and fasten the pieces together with galvanized screws or nails. Reinforce the frame by adding a diagonal brace from the top corner to the opposite bottom corner. This brace will prevent sagging over time.

Attaching the Fence Boards
Once your frame is complete, it's time to attach the fence boards. These boards will give your gate its finished look.
Step 3: Cut the Fence Boards
Cut the fence boards to the desired height. If your fence has a decorative top, make sure to replicate that on the gate boards for a cohesive look.
Step 4: Attach the Boards
Align the boards vertically along the frame. Leave a small gap between each board to allow for expansion and contraction with weather changes. Secure the boards to the frame using screws or nails, starting at the top and working your way down.
Installing the Gate
Now that your gate is constructed, it's time to install it.
Step 5: Set the Gate Posts
If you haven't already, dig holes for the gate posts using a post hole digger. The holes should be at least 2 feet deep to provide stability. Place the posts in the holes and fill with gravel or concrete mix. Use a level to ensure the posts are straight and allow the concrete to set.
Step 6: Hang the Gate
With the posts in place, attach the hinges to the gate. Position the gate between the posts, ensuring there is an even gap on each side. Secure the hinges to one of the posts, making sure the gate swings freely without obstruction.

Step 7: Install the Latch
Finally, install the gate latch on the opposite side of the hinges. Ensure it is at a comfortable height for easy access. Test the latch to make sure it operates smoothly and securely.
Finishing Touches
With the gate installed, add any finishing touches to enhance its appearance and durability.
Step 8: Sand and Paint
Sand any rough edges or surfaces to prevent splinters. If desired, paint or stain the gate to match your fence or to give it a unique look. Make sure to use a weather-resistant finish to protect the wood from the elements.
Step 9: Check for Alignment
Periodically check the alignment of your gate. Over time, weather and use can cause slight shifts. Adjust the hinges or latch as needed to maintain proper function.
Maintenance Tips
To ensure your gate lasts for years, follow these maintenance tips:
- Regularly inspect for loose screws or nails and tighten them as needed.
- Apply a fresh coat of paint or stain every few years to protect against weathering.
- Lubricate the hinges and latch periodically to ensure smooth operation.
By following these steps, you'll have a functional and attractive fence gate that complements your yard and provides easy access. Enjoy the satisfaction of a job well done!
Q&A
Question: How wide should my fence gate be, and when should I choose a double gate? Short answer: Standard fence gates are typically 3 to 4 feet wide, but you should size yours to fit the measured opening and what needs to pass through it. Choose a double gate if you have a wider opening or need vehicle access, since two leaves make it easier to span large widths while staying sturdy.
Question: Why is a diagonal brace important, and how should I install it? Short answer: A diagonal brace prevents the gate from sagging over time. Install it inside the frame from a top corner down to the opposite bottom corner as you assemble the 2x4 frame. This ties the frame together, helps keep it square, and transfers weight to the lower corner for long-term rigidity.
Question: How deep should I set the gate posts, and should I use gravel or concrete? Short answer: Dig post holes at least 2 feet deep for stability. Set the posts plumb and fill the holes with gravel or a concrete mix, then check with a level to ensure they’re straight. If you use concrete, allow it to set fully before hanging the gate so the posts don’t shift.
Question: How much spacing should I leave between boards and around the gate when hanging it? Short answer: Leave a small gap between vertical boards to accommodate wood expansion and contraction with weather changes. When hanging the gate, maintain an even gap on both sides between the gate and posts so it swings freely without rubbing. Adjust hinges as needed to keep clearances consistent.
Question: What finishing and maintenance steps will help my gate last? Short answer: After installation, sand rough spots and apply a weather-resistant paint or stain to protect the wood. Over time, periodically check alignment and adjust hinges or the latch if needed, tighten loose screws or nails, refresh the finish every few years, and lubricate hinges and the latch for smooth operation.
Leave a comment
This site is protected by hCaptcha and the hCaptcha Privacy Policy and Terms of Service apply.