DIY Tips for Building a Privacy Gate
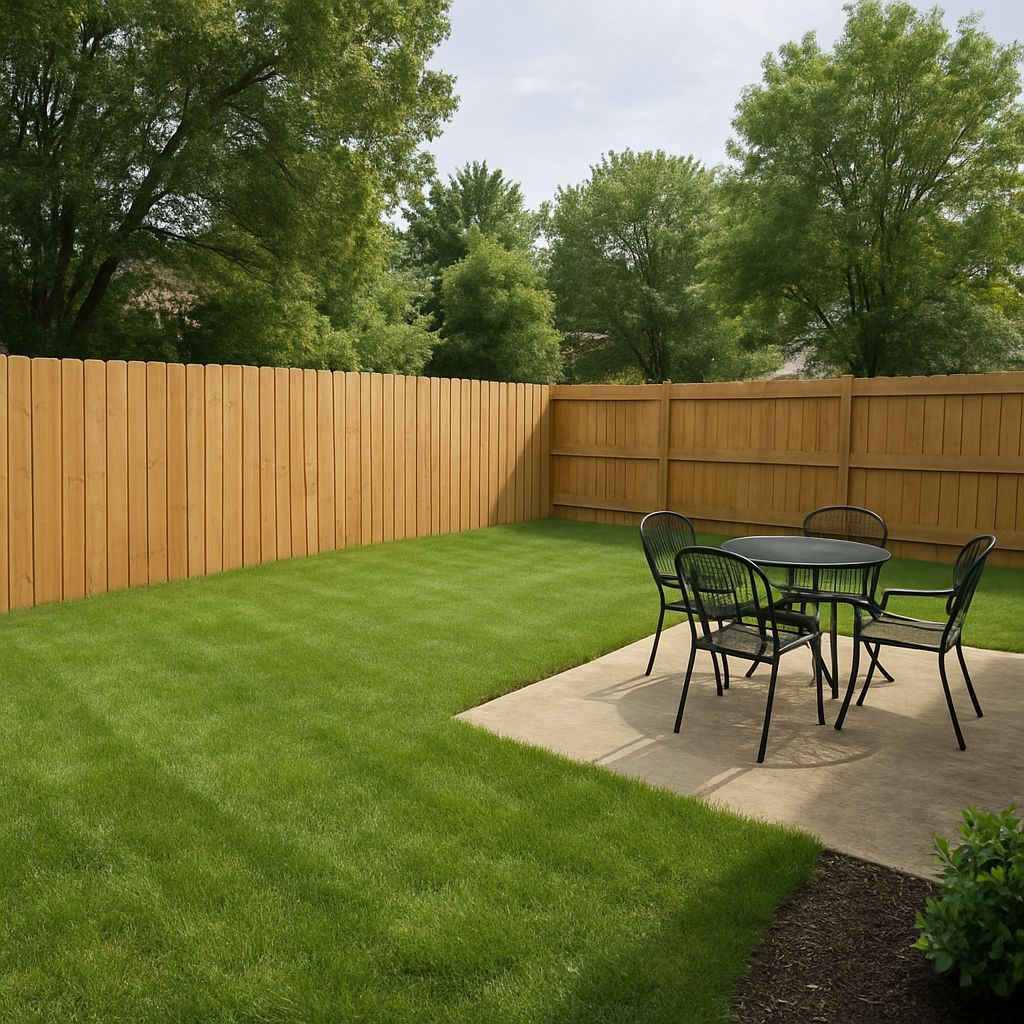
Building a privacy gate for your backyard can be a rewarding endeavor, offering both aesthetic enhancement and increased security. Whether you're seeking to install a new gate or replace an existing one, the process can be complex yet manageable with the right guidance. This article provides essential DIY tips for constructing a robust privacy gate that complements your garden while ensuring seclusion.
Before embarking on the construction of a privacy gate, meticulous planning is paramount. Begin by evaluating the specific requirements of your space, including the dimensions and the desired level of privacy. Consider the architectural style of your home to ensure the gate harmonizes with existing structures. The choice of materials—whether wood, metal, or composite—will significantly impact both durability and appearance.

When selecting materials for your privacy gate, consider factors such as climate, maintenance, and cost. Wooden gates, for instance, offer a classic aesthetic and can be customized to suit various styles. However, they require regular maintenance to prevent weather-induced wear. Conversely, metal gates, though more resilient, may necessitate a higher initial investment and can be prone to rust without proper care.
Essential Tools and Kits
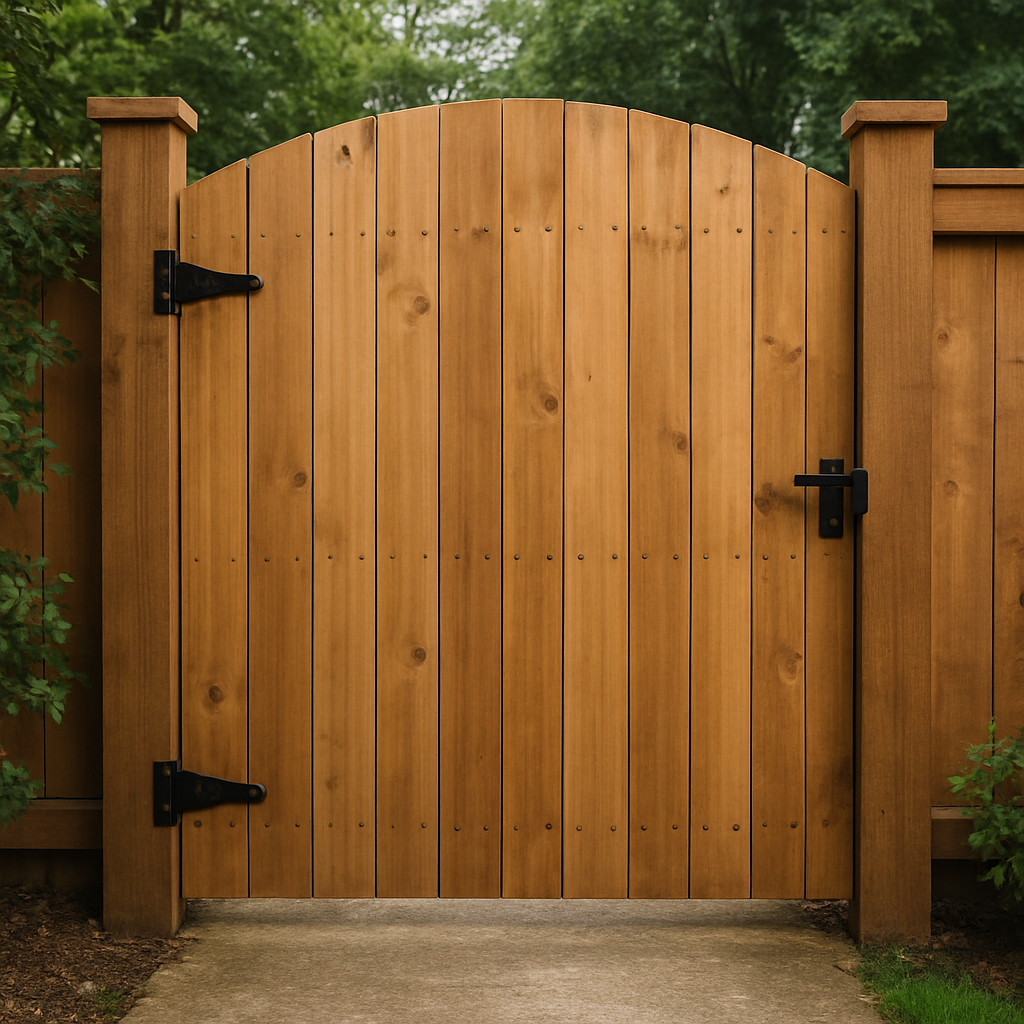
The assembly of a privacy fence gate kit streamlines the construction process by providing pre-cut components and essential hardware. These kits typically include panels, hinges, latches, and brackets. Ensure you have an array of tools at your disposal, including a power drill, level, tape measure, and saw. Precision in measurement and alignment is crucial to achieving a functional and visually pleasing result.
Installation Process

-
Preparation: Begin by marking the gate's location and digging post holes to the appropriate depth, typically one-third of the total post height. This ensures stability.
-
Setting the Posts: Insert the posts into the holes, ensuring they are vertically aligned using a level. Fill the holes with concrete, allowing ample time for curing.
-
Mounting the Gate: Attach the hinges to the gate and then to the posts, ensuring they are level and secure. Proper alignment is imperative to prevent sagging and ensure smooth operation.
-
Final Adjustments: Install the latch mechanism, verifying that it aligns correctly and functions smoothly. Apply any necessary finishes or treatments to protect the gate from environmental factors.
Enhancements and Finishing Touches
To further enhance the privacy and aesthetic of your gate, consider incorporating decorative elements such as latticework, ornamental caps, or integrated planters. These additions can personalize the gate, making it a unique feature of your backyard.
Building a privacy gate requires careful planning and execution but can greatly enhance your garden's functionality and appeal. By following these tips and utilizing a privacy fence gate kit, you can achieve a professional-looking result that offers both security and style.
In conclusion, a well-constructed privacy gate is an invaluable addition to any backyard, providing both practical benefits and an aesthetic boost. Whether you're an experienced DIY enthusiast or a novice, these tips will guide you through the process, ensuring a successful project.

Leave a comment
This site is protected by hCaptcha and the hCaptcha Privacy Policy and Terms of Service apply.